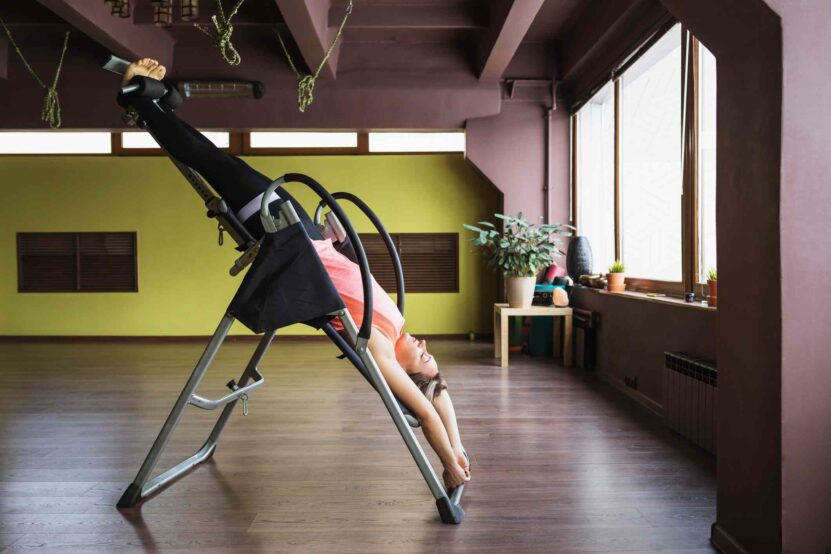
Using an inversion table might seem intimidating at first, but once you start, the benefits can be immediate. It’s a simple way to relieve pressure from your spine, ease back pain, and help your body relax. The key is getting started right—taking things slowly and learning the proper technique.
With the right setup and approach, this tool can become a powerful part of your routine, helping you stretch, improve circulation, and feel better overall. Just make sure to follow the steps carefully and listen to your body.
1. Assemble the Table
Before using an inversion table, it’s critical to ensure it’s properly assembled to avoid any risks during use. Incorrect assembly can lead to serious injury, so following this step is non-negotiable. Here’s how to do it:
- Unpack and organize all parts: Lay out the parts and make sure all components are present according to the instruction manual. This includes the frame, bed, ankle locking system, and all screws and bolts.
- Follow manufacturer’s instructions: Use the guide provided by the manufacturer to assemble the table correctly. Most tables come with a detailed user manual and sometimes a tutorial video for step-by-step assembly.
- Check bolts and screws: Tighten all screws and bolts securely. A loose screw can lead to instability, which is dangerous during inversion. Make sure every connection is solid.
- Position the table in a stable location: Choose a flat surface with enough room for the table to tilt without obstruction. Avoid placing the table on uneven ground, as this could cause it to tip during use.
A detailed video tutorial on how to assemble an inversion table:
Benefits of Proper Assembly
- Stability: Ensures the table won’t move unexpectedly, reducing the risk of injury.
- Safety: A well-assembled table will handle your weight and allow you to invert safely.
- Longevity: Proper setup reduces wear and tear, extending the life of your inversion table.
On average, assembling an inversion table takes about 45 minutes to an hour, depending on the complexity of the model.
Also, learn more about choosing the right footwear for yoga.
2. Adjust to Your Height
Proper adjustment of the inversion table to your height is critical for both comfort and effectiveness. If the table isn’t adjusted correctly, you risk improper alignment, which can reduce the benefits of inversion and potentially lead to discomfort or injury.
- Use the height adjustment feature: Most inversion tables have a height adjustment mechanism to fit users ranging from around 4’10” to 6’6″. Adjust the table by sliding the bed or frame up or down to match your height.
- Ensure head and back alignment: Your head should rest comfortably on the bed, and your body should be aligned along the table. The table’s backrest should support your spine entirely, from the lower back to your neck.
- Test the angle and balance: Once adjusted, the table should tip backward smoothly with minimal effort. This balance check ensures that the table is set correctly for your body weight and height.
Benefits of Proper Adjustment
- Spinal Decompression: Proper height adjustment ensures your spine decompresses fully, relieving pressure on the vertebrae and discs.
- Comfort: Correct alignment ensures the inversion process is comfortable, avoiding strain on the neck or lower back.
- Safety: Height adjustment also contributes to safety, preventing slips or discomfort during inversion sessions.
3. Lock Your Ankles Securely

Securing your ankles properly is one of the most important steps before starting your inversion session. The ankle locking system ensures that you remain safe and stable while inverted, preventing slips or falls. Incorrect ankle positioning can lead to discomfort or even injury, so it’s crucial to follow these steps carefully.
- Position your feet correctly: Stand with your back against the inversion table, and place your feet on the footrests. Ensure your feet are fully secured with the ankle holders.
- Use the ankle locking system: Engage the locking mechanism to tighten the ankle supports around your ankles. Make sure the system is snug but not too tight, allowing for circulation without causing discomfort.
- Check for security: Before inverting, test the locking system by gently pulling on the footrests to ensure they are firmly in place. A loose lock can be dangerous during inversion, so double-check this step every time.
Benefits of Proper Ankle Locking
- Safety: Properly locked ankles prevent slipping while inverted, ensuring you stay securely on the table.
- Comfort: A well-adjusted ankle lock prevents excessive pressure on the ankles, allowing for a more comfortable inversion session.
- Balance and Stability: Correct ankle positioning helps maintain the balance of the table, making the inversion process smoother.
4. Lean Back Slowly
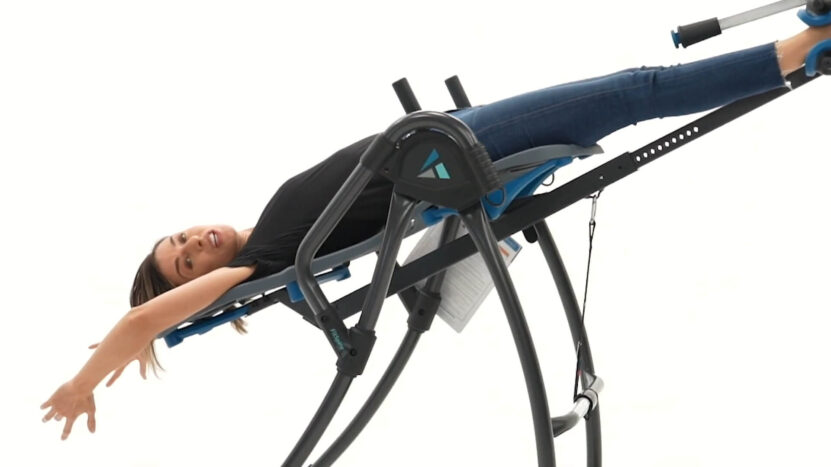
Once your ankles are securely locked, the next crucial step is to begin the inversion process. Leaning back slowly is key to avoiding discomfort or injury and ensures that you stay in control throughout the session.
- Begin with a controlled motion: Slowly lean back, holding onto the table’s handles if available. The key here is not to rush the movement, as sudden or jerky motions can cause dizziness or discomfort.
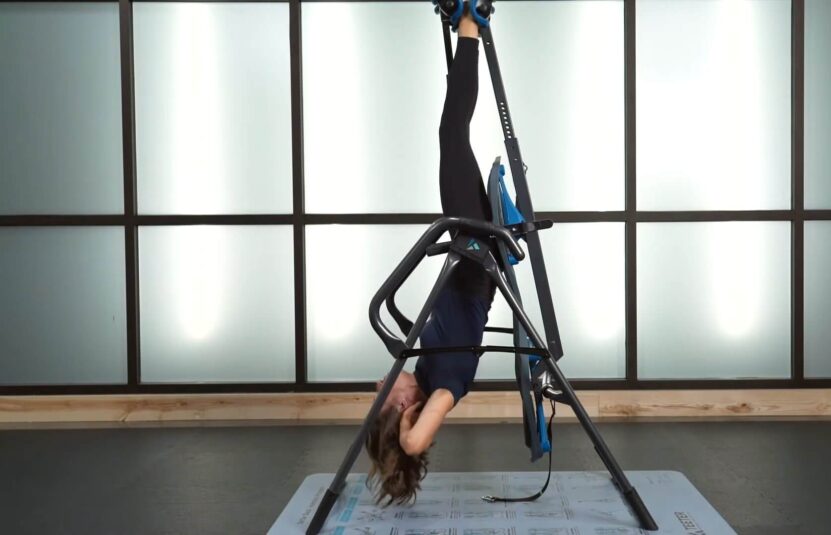
- Start with a small angle: If you’re new to inversion, start with a small angle, such as 20-30 degrees. Gradually increase the angle over time as you get more comfortable. For experienced users, a 60-90 degree inversion is common.
- Maintain control with handles: Most inversion tables come equipped with side handles. Use them to control the speed of your inversion, ensuring a smooth and gradual descent into your chosen angle.
5. Limit Your Time
The time you spend on the inversion table significantly impacts its effectiveness and safety. To avoid strain or discomfort, it’s important to start with short sessions and gradually increase the duration as your body gets used to inversion therapy.
- Start with short sessions: For beginners, it’s recommended to limit sessions to 1-2 minutes. This allows your body to adjust to the inverted position without causing unnecessary strain on your muscles or spine.
- Gradually increase duration: Once your body becomes more accustomed to inversion, you can extend your sessions. Aim to increase the duration by a minute or two per session until you’re comfortable with 10-20 minutes.
- Listen to your body: Always pay attention to how your body feels. If you experience discomfort, dizziness, or pain, it’s a signal to stop immediately. Gradual progression is key to preventing injury.
For beginners, using the inversion table 2-3 times per week is ideal. As you gain experience, more frequent sessions are fine, but keeping them under 20 minutes is still advised.
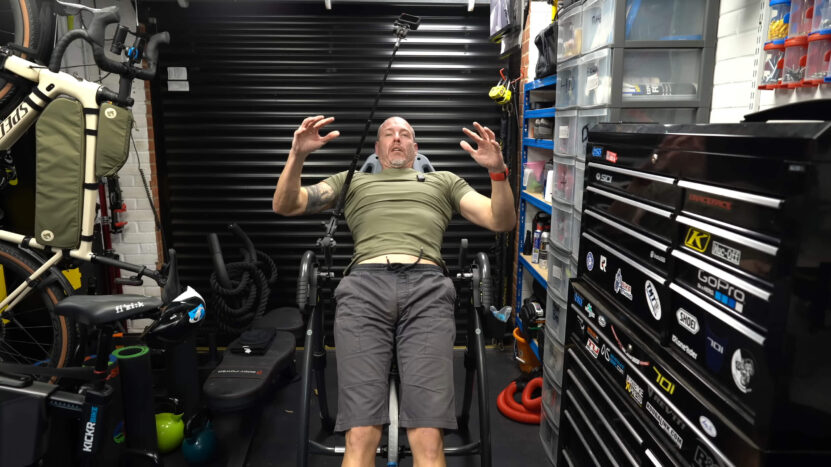
6. Incorporate Stretches
Once you’re comfortable using the inversion table, adding stretches can significantly enhance your experience. These stretches will help with flexibility, muscle strength, and tension relief.
- Start with light stretches: While inverted, reach your arms overhead or extend them to the sides. This helps elongate the spine and relieve tension from the back muscles.
- Engage the core: Tighten your abdominal muscles during these stretches. This not only stabilizes your body but also strengthens your core, which is essential for spinal support.
- Try inverted crunches: For a more advanced exercise, perform inverted crunches. Place your hands behind your head, tighten your abs, and lift your upper body slightly while inverted. Aim for 10-12 reps per set.
Benefits of Adding Stretches
- Increased flexibility: Inverting while stretching allows muscles to relax and lengthen, improving flexibility over time.
- Stronger core muscles: Doing stretches and exercises like inverted crunches strengthens your core, helping prevent future back issues.
- Reduced muscle tension: Stretching while inverted helps release tension in the muscles, offering relief for conditions like sciatica and lower back pain.
7. Return Upright Slowly
After completing your inversion session, it’s crucial to return to an upright position slowly and carefully. This step is important to avoid dizziness, lightheadedness, or unnecessary strain on your body.
- Move slowly and steadily: Use the side handles to slowly tilt yourself back to an upright position. Avoid jerking motions, as quick changes in position can cause dizziness or disorientation.
- Pause at the horizontal position: If you feel any discomfort or dizziness while returning upright, pause at a horizontal position for a few seconds. This gives your body time to adjust to the change in blood flow.
- Stay steady before unlocking: Once upright, remain still for a moment before unlocking your feet. This helps prevent any sudden dizziness or imbalance when stepping off the table.
FAQs
How often should I use an inversion table?
For beginners, 2-3 times per week is ideal. Once you become more experienced and comfortable, you can use it daily, as long as each session lasts no longer than 10-20 minutes.
Can inversion tables help with sciatica?
Yes, inversion tables can help relieve sciatica by reducing pressure on the sciatic nerve. This is achieved through spinal decompression, which can alleviate nerve pain and improve mobility.
Are there weight limits for inversion tables?
Most inversion tables have a weight capacity of around 250-300 pounds. Always check the specific weight limit of your table before use to ensure safety.
Is it safe for seniors to use inversion tables?
Seniors can safely use inversion tables if they do not have medical conditions like high blood pressure or heart issues. It’s recommended to consult a doctor before starting inversion therapy, especially for older individuals.
Can inversion tables help with posture improvement?
Yes, inversion therapy can help improve posture by decompressing the spine, relieving pressure, and helping to realign the vertebrae, which promotes better posture over time.
Should I use an inversion table if I have a herniated disc?
Inversion therapy may help alleviate symptoms of a herniated disc by reducing pressure on the spine and nerves. However, it’s essential to consult with a healthcare professional to ensure it’s safe for your specific condition.
Can inversion therapy increase height?
While inversion therapy can temporarily decompress the spine, it does not result in a permanent height increase. The effect is usually temporary, providing relief by reducing pressure on the spinal discs.
Do inversion tables make you dizzy?
Some users may experience dizziness, especially if they move too quickly into or out of the inverted position. It’s important to move slowly and control the angle of inversion to prevent dizziness.
Last Words
Using an inversion table can offer great benefits for your back, muscles, and overall flexibility when done properly. By following the correct setup, adjustment, and safety guidelines, you can enjoy its full therapeutic effects while minimizing risks. Start with short sessions, increase your time gradually, and listen to your body throughout the process.